Tuesday, October 28, 2014

Nutella? You Mean Chocolate Crack Right?

It has gotten so fucking cold outside.

Like, seriously. One day it's tank top season then the next it's frosty balls weather.
We actually had to turn the gas back on today after, I want to say, like 5 or 6 months.
I forgot how much it sounded like the NASA rocket shuttle taking off whenever the gas turned on.

It scares my cat half to death.

Okay. So.
Muffins are good right?

I think I mentioned before that I've been trying to go through my dessert books. I am now on this plethora of diabetic delights.

I've had this in my collection for a while. Aaaand I'm not too sure if I bought it? Or if someone else bought it for me.
Either way, it's been good to me so far. Honestly, it's pretty hard to ruin muffins.

So the recipe next on my queue was this gem.
It's for "chocolate chunk muffins." I'm a bit low on funds until my next pay day, so I decided to improvise. 
My pantry was full of both chocolate chips, and lo and behold, a giant tub of nutella that I nearly forgot we had. 

Nutella was the way to go people.
Clearly.

Now, unfortunately I am not going to specify the exact amounts of this recipe because when a published product actually has some worth, I do encourage supporting the author and actually buying it.
Or you know, stealthily writing them down onto scraps of paper at the bookstore.
Whichever is more convenient for you. 

Okay!
First things first.
All of my lovely ingredients.
I doubled the recipe like usual.

Pretty much all muffin recipes have the same directions. It's mix all the dry, mix all the wet, combine the two and voila.

But yeah, mix the flour, baking powder and salt together in a bowl.

Add the sugar (and chocolate chunks but obviously those are absent).

Now onto the wet! Lightly beat your eggs.

Mix in the melted butter, vanilla, and milk.

Mix all that shit together.
Once combined, make a well in the center of the flour mixture and pour in the wet.

Then gently fold them together until JUST combined.
Remember, nobody likes a tough muffin.

Using an ice cream scoop (or a large spoon) fill the muffin cups about halfway.

Now take that lovely addictive chocolate substance, and drop a spoonful into the middle of each cup.

Cover that shit up with some more muffin batter.
 

Then, drop another small dollop of nutella on top of each one. (You can skip this step if you like, but I enjoy the marbling effect). To make swirls, use a knife or a toothpick and make swirls through the nutella in the muffin batter (just don't go too deep to the bottom).
If successful, they should look like this.

Now bake these bad boys for about 18-20 minutes depending on your oven and it's fickle attitude.

AAAAANNNNDDD PRESTO BAKE...O!
 

These were not disappointing. I think I might have overmixed the batter a tad but all in all I was pleased.

And while baking I had the fantastic sounds of Pogo blasting in my kitchen.
What?
You haven't heard of Pogo?

I feel like we can't be friends.


JUST KIDDING.
But give him a listen. Shit's amazing.
This one is probably my favorite.


Yet, you can't go wrong with this one either.
 

You're welcome.

Also folks. I've been working on this cheap ass paint by numbers FOR FUCKING EVER.
And, I FINALLY FINISHED IT
BEHOLD

 
The paint was cheap and dried way too fast but I'm kind of okay with how it turned out. Especially since I don't paint a whole lot.
I'm finally able to move onto another cheap do it yourself little craft.
With a cat being the main subject again.

Don't judge me.

Saturday, October 18, 2014

Pumpkin; Fall's Most Basic Bitch Flavor

I'm sure that all of you are aware of your surroundings at this point in time. The weather is cooler, the leaves are turning, and that one indiscernible flavor has started to creep into every spectrum of your diet.

You thought right folks,
Pumpkin.

In fact, this video sums it up quite nicely.


OH GOD. THE SHEER HORROR OF IT ALL.


Even though I'm not one to totally immerse myself in pumpkin everything for the whole fall/winter season, I will admit that it does seem to end up in quite a few baking projects.
I won't lie, I really do like pumpkin desserts.

I've been meaning to make this pumpkin cake recipe (again) for about three or four weeks and finally had the opportunity.

Although since I have made it before, I thought I would skip the step by step baking instructions and just skip to the frosting and decorating process.

I'm not too skilled in this department but if it doesn't sound TOO vain I think I have made some improvements.

SO
First things first.
I baked the cake (duh). The recipe yields two 8-9 inch round cakes. I let them cool on a wire rack, covered them in saran wrap, and had them chill in the fridge overnight.


Before assembling, I whip up my frosting batch.
First, you beat the cream cheese and butter.


Once that is all smooth and creamy, you'll add the maple syrup and confectioners sugar.

Make sure it is PURE MAPLE SYRUP people! Not Mrs. Butterworths syrup or Maple Syrup extract.

Also with this step, I just eyeballed the maple syrup and the confectioner's sugar. I honestly don't like my frosting to be too sweet. So I just whip and taste along the way.
Use your best judgement. As long as it's of spreading consistency you should be okay.

End product should look similar to this

Note that I have my angled spatula in the frosting bowl. I do HIGHLY recommend this tool when icing or frosting desserts/cakes.

Now the next step, take out your cakes and unwrap them. Figure out the best way to stack them before actually attempting to do so. Leveling off the tops also help if they rose too high during the baking process.

I also recommend decorating the cake on cardboard cake rounds. It just makes transporting the cake easier.

Drop a dollop of frosting on the cake round before adding your first cake layer. This helps keep the cake from sliding around and shifting on your cake round.


After adding the first cake layer. Spread your frosting on top. This will be your filling.
For this recipe, I doubled the frosting because I found that I nearly ran out after spreading the filling portion.


I sprinkled some pecans on top because reasons.
Now, add your top layer.
As for this next step, I've noticed some debate on whether it's really necessary. But after icing a few cakes somewhat unsuccessfully I found that the end result looks better when incorporated in the process.
If you've ever watched Cake Boss, you know that this man does what is called, "dirty icing." Basically, this is adding a thin coat of icing to your cakes and letting them set before actually doing the final icing. It's good to do this so that your frosting isn't filled with tiny cake crumbs. This is also why some people call this step a "crumb coat".

So! Onto dirty icing this baby.


It's okay if your cake isn't pretty at this point.
After this, I let it sit to firm up a bit in the fridge again for about an hour or so.

Next, take it out again and spread on your final frosting layer.
I did kind of have a tough time making this smooth enough. Cream cheese frosting always seems a little harder to work with.

Now onto decorating! Since I'm unoriginal and lack imagination, I just decided to copy the design from the original post. Except I added a little more on the bottom and changed the colors.


Aaaand you're done!
I felt like this looked like crap. But *shrugs* I haven't had a whole lot of practice decorating with piping techniques.
I was hoping to make the outside look likes leaves but the frosting was just so unwilling to hold it's shape when piped.

Still yummy though.

I did mention earlier that this is my second time making this cake and the decorating process was totally different. This was my first attempt at this about two years ago.

I feel like this was a more appropriate theme for this time of the year, yes?


Also,
You guys,
I think I'm in friend-love.

Cutest ever token of appreciation and expressions of feelings from my fabulous and most amazing friend and doppelganger
No you cannot has.

Until next time!

Sunday, October 5, 2014

So Much Cookies

Everybody likes cookies right?

RIGHT?!

....right.

I will admit it has been a while since I have made cookies.
So I had a request for just some oatmeal chocolate chip cookie dough. I'm honestly not a big fan of just eating cookie dough so I figured I'd just make a big batch and at least bake some and save the rest for my friend to munch.

I have a long queue of recipes in my repertoire that I like to go through and test, because hey, you never know if it's good until you try.

I found this recipe for oatmeal chocolate chip cookies from food.com.

And since I'm crazy and have nothing else better to do with my free time, I also decided to make a double peanut butter cookie recipe from this book.

I'm slowly going through all of my dessert cookbooks, so you'll see more of this in the future.

I baked the oatmeal cookies first.

I gathered up all my lovely ingredients.


Next step, cream your butter and sugars together.
Most of the reviews for this recipe suggested cutting back on the sugar. I usually like to stick to a recipe initially to see how shitty or good it is but 2 cups of sugar was overdoing it a tad. So I cut about a 1/4 cup from the brown sugar and the granulated white.


Once they're all nice and creamed, you're going to add your chicken periods to the mix.


Now you're going to add the water and the vanilla.
To be frank, I was kind of turned off the by water that this recipe calls for. This is the first time I've ever seen that as a cookie ingredient. But like I mentioned before, I feel morally inclined to do everything the recipe says before I judge it too harshly.


Mmmm. Next, we take a separate bowl and mix/sift/whisk all of our dry ingredients together. (Excluding the oatmeal and chocolate chips)


After that's all well incorporated we add it to our creamed mixture.
Then we fold in our oatmeal and chocolate chips.


So, the recipe does say to spoon the batter onto a cookie sheet. I did try to spoon it on but they ended up looking like wiry biscuits. I ended up just rolling the batter into balls instead.


Oh, and for anybody whose ever had trouble with cookies burning. The baking pan I have is called in AirBake pan.
It is THE best baking sheet I have EVER used. The bottoms never burn.
This doesn't mean it's an excuse not to watch your cooking times though. But it is a great investment for those recipes where the product burns because of shitty uneven oven heat or ingredients with weird baking times. I use this pan for biscuits because the bottoms tend to burn before the tops brown. So after this it was problem solved.
FOREVER

Anywho,
Bake your lovelies in the oven at 350 degrees F until they brown. I believe I baked these about 20 minutes? Could be less. The safest thing though would be to time at least 10 minutes and check to see how they're doing and what you need to adjust at that point.


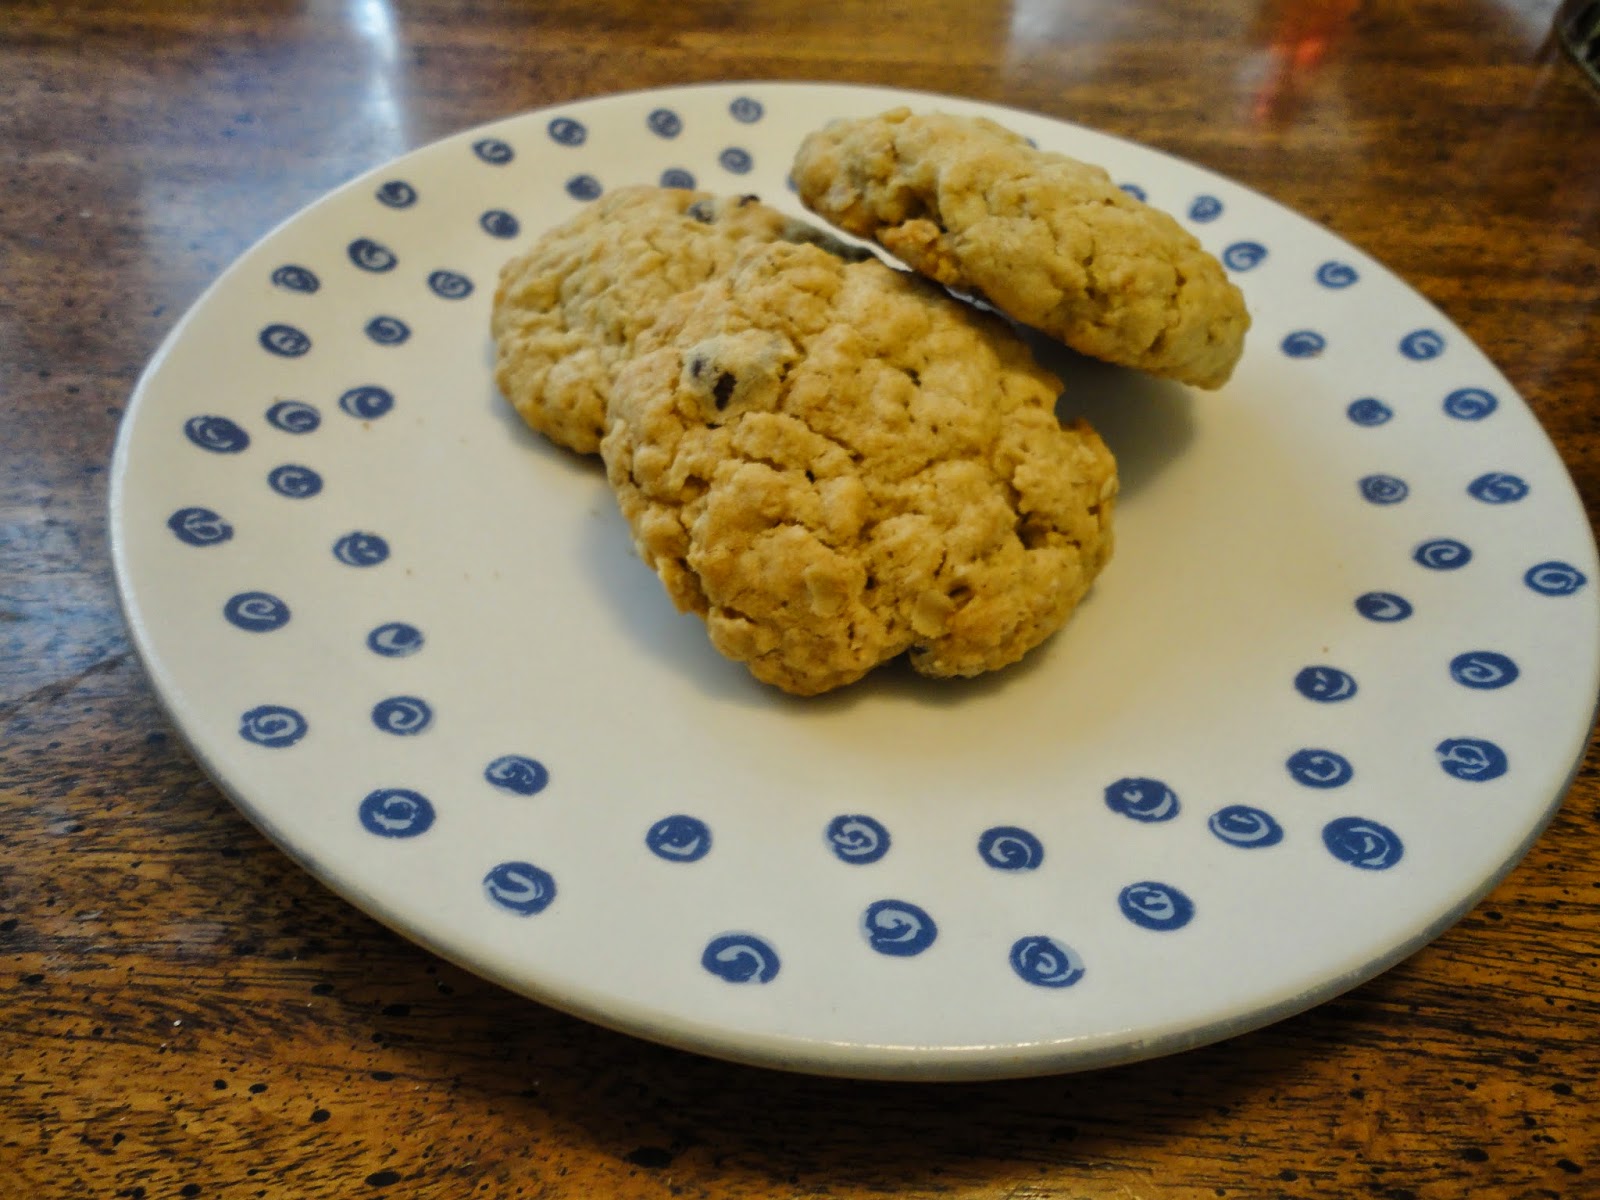
Final step. ENJOY! OM NOM NOM NOM NOM

I totally didn't do a step by step for the peanut butter cookies.
Honestly, that baking book I mentioned above is turning out to be complete shit. At first, I thought it was me, but the peanut butter cookie recipe being the 3rd one I've tried, I have to conclude it's the book.
Bargain cookbooks are bargain for a reason folks.
At least that's what I'm starting to conclude.


I adjusted the recipe to the best of my ability.
These were not a hit. It was made mostly of cornstarch and powdered sugar...which also has cornstarch.
For those people who bake on the reg, you could guess how crumbly the texture of this cookie was.
No bueno.


SIDE NOTE
Went to my first con this weekend. Had a blasty blast.
Cosplayed a character suited to my personality.


TIL NEXT TIME