Sunday, October 5, 2014

So Much Cookies

Everybody likes cookies right?

RIGHT?!

....right.

I will admit it has been a while since I have made cookies.
So I had a request for just some oatmeal chocolate chip cookie dough. I'm honestly not a big fan of just eating cookie dough so I figured I'd just make a big batch and at least bake some and save the rest for my friend to munch.

I have a long queue of recipes in my repertoire that I like to go through and test, because hey, you never know if it's good until you try.

I found this recipe for oatmeal chocolate chip cookies from food.com.

And since I'm crazy and have nothing else better to do with my free time, I also decided to make a double peanut butter cookie recipe from this book.

I'm slowly going through all of my dessert cookbooks, so you'll see more of this in the future.

I baked the oatmeal cookies first.

I gathered up all my lovely ingredients.


Next step, cream your butter and sugars together.
Most of the reviews for this recipe suggested cutting back on the sugar. I usually like to stick to a recipe initially to see how shitty or good it is but 2 cups of sugar was overdoing it a tad. So I cut about a 1/4 cup from the brown sugar and the granulated white.


Once they're all nice and creamed, you're going to add your chicken periods to the mix.


Now you're going to add the water and the vanilla.
To be frank, I was kind of turned off the by water that this recipe calls for. This is the first time I've ever seen that as a cookie ingredient. But like I mentioned before, I feel morally inclined to do everything the recipe says before I judge it too harshly.


Mmmm. Next, we take a separate bowl and mix/sift/whisk all of our dry ingredients together. (Excluding the oatmeal and chocolate chips)


After that's all well incorporated we add it to our creamed mixture.
Then we fold in our oatmeal and chocolate chips.


So, the recipe does say to spoon the batter onto a cookie sheet. I did try to spoon it on but they ended up looking like wiry biscuits. I ended up just rolling the batter into balls instead.


Oh, and for anybody whose ever had trouble with cookies burning. The baking pan I have is called in AirBake pan.
It is THE best baking sheet I have EVER used. The bottoms never burn.
This doesn't mean it's an excuse not to watch your cooking times though. But it is a great investment for those recipes where the product burns because of shitty uneven oven heat or ingredients with weird baking times. I use this pan for biscuits because the bottoms tend to burn before the tops brown. So after this it was problem solved.
FOREVER

Anywho,
Bake your lovelies in the oven at 350 degrees F until they brown. I believe I baked these about 20 minutes? Could be less. The safest thing though would be to time at least 10 minutes and check to see how they're doing and what you need to adjust at that point.
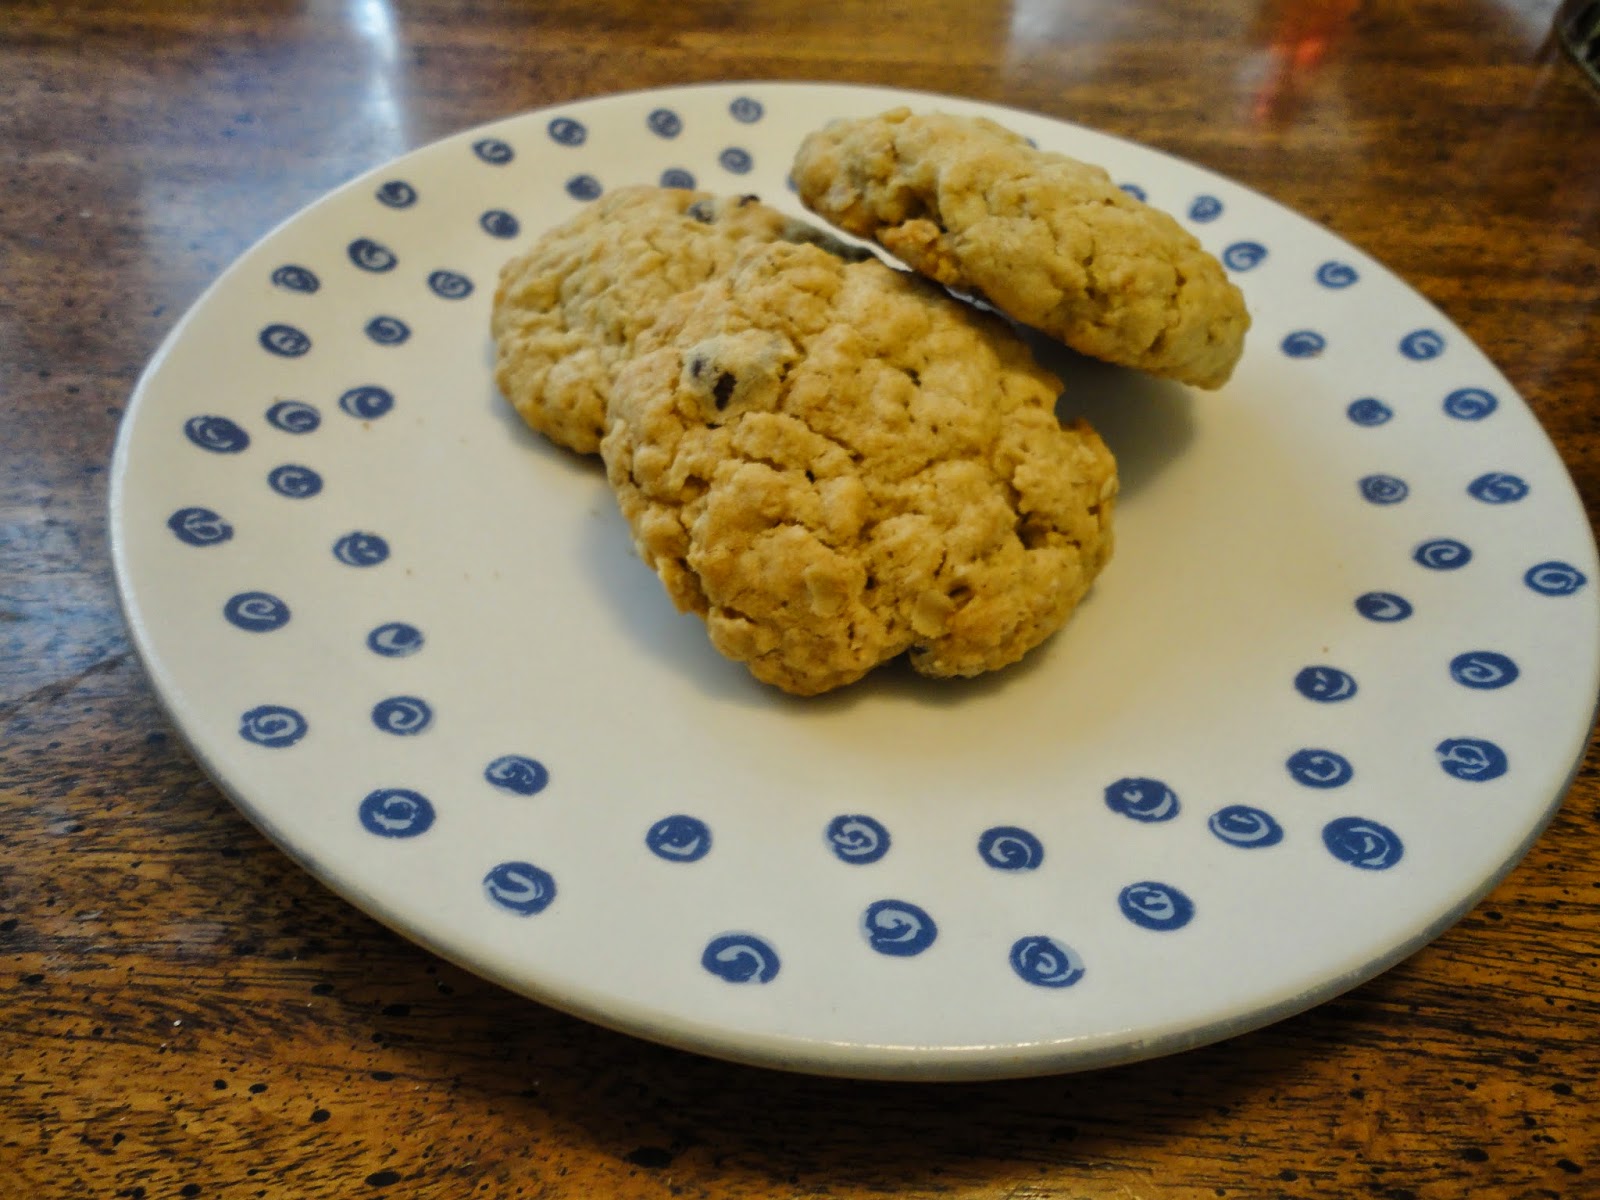

Final step. ENJOY! OM NOM NOM NOM NOM

I totally didn't do a step by step for the peanut butter cookies.
Honestly, that baking book I mentioned above is turning out to be complete shit. At first, I thought it was me, but the peanut butter cookie recipe being the 3rd one I've tried, I have to conclude it's the book.
Bargain cookbooks are bargain for a reason folks.
At least that's what I'm starting to conclude.


I adjusted the recipe to the best of my ability.
These were not a hit. It was made mostly of cornstarch and powdered sugar...which also has cornstarch.
For those people who bake on the reg, you could guess how crumbly the texture of this cookie was.
No bueno.


SIDE NOTE
Went to my first con this weekend. Had a blasty blast.
Cosplayed a character suited to my personality.


TIL NEXT TIME

Tuesday, September 9, 2014

Behold My Delicious Chocolatey Guts!

Okay folks,

Sorry for my brief absence.
Just tired.

So very, very tired. As in, so tired that after coming home this afternoon, I wanted to take a quick nap. Aaaaand ended up sleeping for about 5 hours.


But there has been awesome things and goings ons.

Like finally getting this badass sewing machine.

 Look at it! Look at it's glorious sewing machine...ness! I did a buttload of research before making this purchase and at this point I don't regret it.


Hopefully there are still no regrets when I finally get to my first sewing crafts project.


 But anywho,

With what little free time, I made this delicious recipe of chocolate goodness. They are chocolate muffins from my favorite joyofbaking.com website.

So, first things first again. Gather up all those yummy ingredients peoples.

I did portray ALL of your necessary ingredients. Even those for the optional frosting. (But why the hell would you skip out on chocolate buttercream?)

Another note, the recipe does call for buttermilk. My first trials with baking, I mistakenly always bought buttermilk. But, unfortunately, never used it all so that ended up being a huge waste.
Best kitchen shortcut I use on a frequent basis? Making my own damn buttermilk. All you do is add one tablespoon of white vinegar or lemon juice per one cup of whole milk, let that sit for 5 to 10 minutes and voila! Works like a fucking charm.

Next step, line your muffin pan with paper liners.
I was SO excited to use this jumbo or (regular sized) muffin pan for the first time. 
No regrets.
I'll also mention that I doubled the recipe once again, because, well, muffins. 

 Now for anyone who hasn't made muffins before you'll come to realize how easy they are. Just two bowls with wet and dry ingredients, fold one into the other and you're ready to bake. So first we get our wet ingredients together.

Mix your melted butter, eggs, buttermilk, and vanilla extract in a large bowl.

 Next, in another large bowl, whisk together the flour, cocoa powder, sugar, baking powder, baking soda, and salt.

Mix in your chocolate chips.

Now to get these two bad boys to join in sweet, sweet, chocolatey love. Make sure to fold the wet ingredients into the dry mixture and stir only until just combined.
DO NOT OVERMIX. If you overmix the batter, you'll get tough muffins and be forever hated by all of your friends and family.
And I don't think you want that.

Mmmmm, doesn't this look like chunky diarrhea? I know it's making me hungry.

Side note: if you noticed the bowl change, then you're very perceptive. Like I mentioned earlier, I doubled a JUMBO muffin recipe. After combining all of my ingredients in the first bowls I realized a mistake had been made.
The bowl just wasn't big enough to contain all the madness.

Now fill your muffin liners. They will be mostly full. I usually use an ice cream scoop for this step.

Time to get them in the oven! Bake muffins for about 20 minutes at 375 degrees F as per the original recipe. I usually don't move my oven dial from 350 degrees F so mine took about 24 minutes to fully bake.

Take them out and let cool on a wire rack.

Onto the frosting!
Which is always my favorite part. Chocolate buttercream is best buttercream. 

First, melt the chocolate in a heatproof bowl over a pot of boiling water. Chopping it makes it easier and faster. 

Since this is unsweetened chocolate, I'm always tempted to lick remnants off of my fingers. But looks are deceiving, especially after realizing plain cocoa tastes like acrid dirt.
Delicious.

Next, in your stand mixer or with a handmixer, cream your butter until smooth and creamy.

Make sure to scrape down the sides of the bowl as you go.
Good to keep everything nice and incorporated.

Add your powdered sugar and beat until light and fluffy. I always eyeball the powdered sugar part since frosting sweetness can be adjusted to your personal preference.


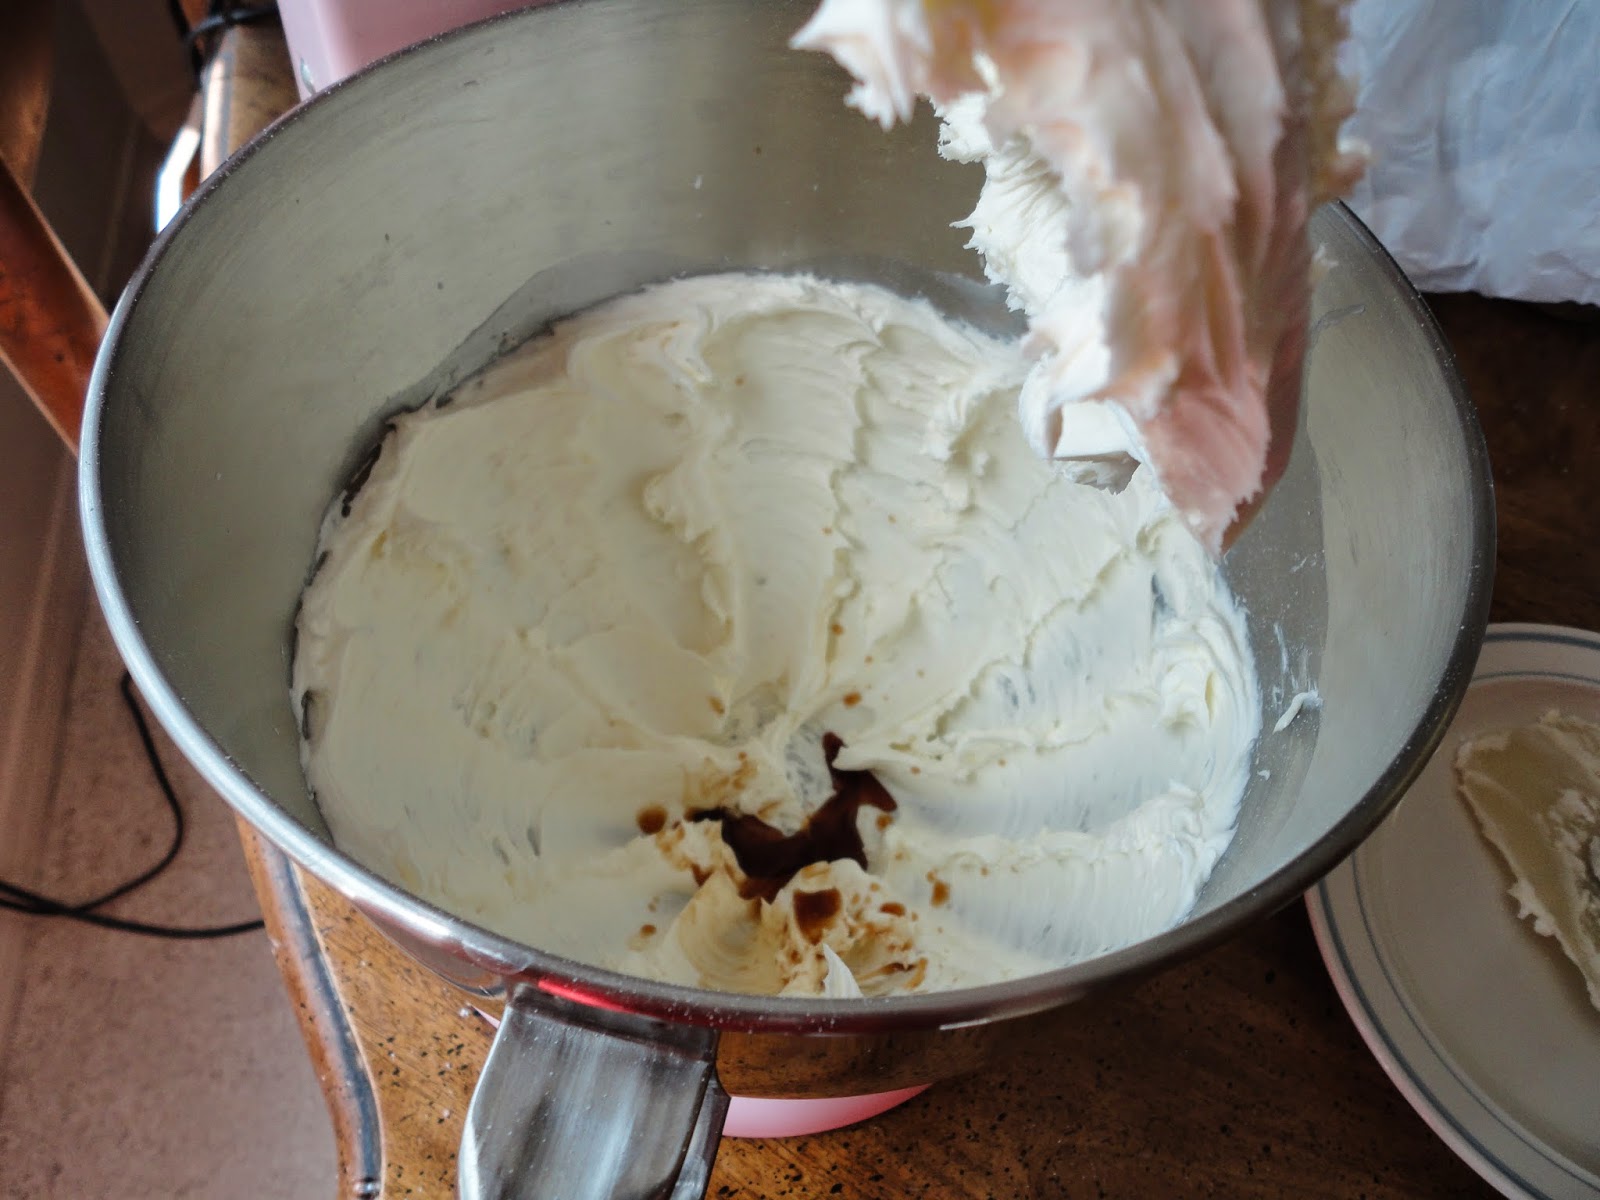
Beat in the vanilla extract. 


And finally, slowly add your COOLED chocolate. Don't melt your butter folks. Rookie mistake and not a fun one to make. 


Beat on low speed until all mixed in. Then increase speed until smooth and glossy.


Omnomnomnomnomnomnom! 

Now onto decorating. Which is my utmost favorite part. The original recipe just says to spread the buttercream onto the muffins but that just doesn't cut it for me. 
I had to jazz it up a bit. 

So I melted some white chocolate and made hearts on parchment paper. I actually piped them just using a ziploc bag. Easy peasy. 

Then I piped the buttercream on with a decorative star tip. I forget which number though. 
 But you get this. 


Have you ever seen anything more delicious? 
I think not.
These were pretty sweet but I still managed to eat it without a problem. It was just a chocolate explosion in your mouth you just couldn't control. The muffin wasn't dense and the chocolate chips were still melted enough after cooled that it gave a gooey interior. 
What's not to love?

Had to share with the friends of course. 


Needless to say they enjoyed it.


Until next time!

Tuesday, August 26, 2014

Late to the party and lazy to start.

Hi, so I'm officially making my late introduction to this blog. I apologize for not posting until now but I've been busy with switching companies at work as well as just being too lazy to do anything unless it involved watching Netflix and reading. 


I'll try my best to post something once a week but forgive me if I don't. My sister is more the baker in the family, and lately I've been obsessed with perfume (don't judge me). Anyway, let's kick this off with a recipe for Double Chocolate Chip Muffins.

Now this recipe is courtesy of JoyofBaking.com and you can find it under the muffin section so I won't go into too much detail (because I'm lazy). This is a fairly simple recipe and I wish I had taken more pictures but I will show you a couple. 

Like my sister has said before, it's always a good idea to gather your ingredients before you start. Now I changed a few things in this recipe. The first was that I set the oven to 350 degrees Fahrenheit instead of 375. That's just my personal preference.  

Second, when whisking together the dry ingredients I added a couple teaspoons of cinnamon and 1 1/4 cups chocolate chips because why not? 

With the wet ingredients, the recipe called for 1 cup of buttermilk. It was surprising but I actually had buttermilk, sadly I only had 1/2 cup left so I threw that in with 1/2 of heavy whipping cream because I love using it to bake with. Heavy cream is amazing and so unhealthy. But if you wanted healthy, why are you here? 

After mixing the dry and wet ingredients and putting those little paper cups in the muffin pan, I got halfway through pouring the batter when I had an awesome idea. I made the decision to place a Hershey's kiss or a mini Reese's cup into the center of each muffin. When they came out the candy inside was nice and melty and delicious!  

The easiest way to do this is to fill the cups halfway, place a piece of candy (your choice) into each one then fill them the rest of the way up, they end up looking like this: 


Sorry if the picture sucks. After you toss this into the oven, it should slowly start to rise. It will look like the following picture when it's around the ten-12 minute mark (mine baked for 20 minutes per the recipes suggestion). 


I wish I had remembered to take a picture of the finished product but they were delicious and they never made it to the next day. I left for five minutes while they cooled and there were four missing when I came back so I'd take that as a compliment. 

Now the recipe included a chocolate fudge frosting but I was just not prepared to give my friends that much diabetes, not yet anyway. If you would like to give it a shot be my guest and tell me how it goes, I'd love to hear what you think about the recipe because from where I stand, they're pretty darn tasty. 

I'll try to have more pictures but until then, stay sweet and thanks for reading! 

Now back to watching Netflix. 


Saturday, August 23, 2014

Oh Canada, with your delicious treats and funny bacon

Man it's been a tiring couple of weeks.

Recently started a new second job and that's been interesting. As well as quite frustrating.
Still found time to bake in between all these hectic hours.

Because I have a problem.

Side note: One of my jobs is at a retail location that deals with crafts and whatnot. I won't disclose which one but I'm sure you get the gist of it.
Managed to score this beauty for half off.
If you can't tell, it's an icing smoother for cakes. Sorry about the water droplets, I had just taken it out of the package and washed it in preparation to take it's first frosting virginity. But yes. I'm quite excited to use this. There is at least one birthday coming up. Maybe I'll be able to whip this bad boy out soon.

Anywho!

When I first started getting into baking, the first site I really got into was joyofbaking.com. It's run by the fabulous (at least from what I can tell) Stephanie Jaworski. I believe she has tested every recipe she posts and they are mostly from various cookbooks. She'll put her own spin on it or just follow it according to the original published aspects. 

Either way, her recipes are what got me started and have helped me get to the point I'm at. Her directions are clear and her tips at making sure your goodies comes out right are quite on point.  
So yeah, check it out! They don't disappoint. 

So I found a little time to making some Butter Tart Squares. As stated in the article, they are similar in flavor and texture to a pecan pie but in a more convenient form. 
And if you don't love pecan pie then you're a communist. 
Sorry. Gotta say it.

Alright. Here we go.
First gather your ingredients again.
Then, make sure you grease your baking pan(s). I doubled this recipe too. If you're wondering why I double my recipes often, it's because I love to share when a recipe comes out well. 
And I like to pan off most of my treats so I don't end up eating them all. Preventative measures people. 
Also, for a recipe that deals with a crust, I don't recommend flouring the pan or laying down parchment paper. Crusts don't typically have a hard time coming out of your receptacle due to all of the butter IN the recipe. 
Okay, the crust is the first step. For this you'll first beat the butter and sugar until light and fluffy. 
  
Make sure to cut the butter into pieces. This will make it easier to beat.
Don't you love my stand-mixer guys? Damn, I sure do.
This is how it should look after you've beaten it into submission.
Now to add the flour and salt. Only mix until the dough comes together. 

Now here comes the fun part! Time to spread out your dough into your prepared pan. Make sure to make it as even as possible. 
Since I doubled the recipe, I just mashed the dough onto the bottom a little bit at a time until they both looked similar enough.
Next, bake the crust for about 20 to 25 minutes or until pale golden in color. I make sure to keep a close eye when baking crusts. When given baking times I like to check about 10 minutes in to gauge how much to adjust the time according to how shitty my oven is. Never, ever assume the suggested baking time is adequate for your baking equipment.
When done, take out your pan and place on a wire rack to cool while you make the filling.
The article suggests a food processor or hand mixer, but I just used my trusty old stand-mixer again.
Beat more butter and more sugar again until light and fluffy. Brown sugar this time though.
Mix in your eggs, one at a time, until combined. 
Remember to scrape down the sides of the bowl as necessary!
Add the corn syrup and vanilla extract.

Then add your flour, salt, and baking powder.
Now take your cooled crusts and sprinkle raisins/nuts (or either or) onto the bottoms evenly. I used pecans and sultanas. I've had these sultanas sitting in my pantry for EVER. I'm just glad they take so long to go bad. 
 Spread your filling in the pan evenly.
Bake for about another 20 to 25 minutes on this one or until your filling is set. 

Voila! Done! Just make sure to cool on a wire rack before cutting and removing. These are scrumptious both warm and cold.

I gotta be honest. Even though I did take most of these to work, me and the boyfriend devoured most of them ourselves.
They were just so freaking good. 


Until next time!